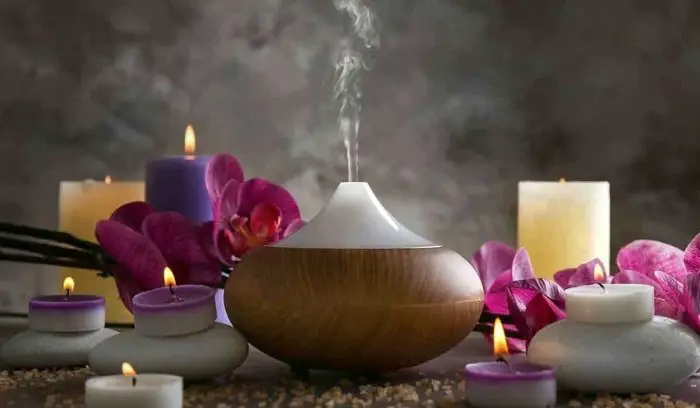
Having a diffuser at your home is one of the best things you can do. The air quality and the whole mood of the room will benefit greatly from having one. This little device can help with your health, through the use of essential oils daily.
The diffusers are devices that work by spreading microparticles throughout the air, making these particles reach your airways, improving the mood and the environment of the room.
Diffusers are the best way to start using essential oils to have a better quality of life. You can begin using lavender, peppermint and eucalyptus oils. Of course, once you have a diffuser, you have to know how to do its maintenance.
That is when knowing how to clean your device is important. More often than not, people think their devices are broken, but in reality, they just need cleaning.
Now, it is not about just cleaning. You have to know how to do it properly. One of the best ways you do it, it’s using alcohol. It will not damage your device and will get the job done.
It is important to make sure you are using the right method for cleaning to make sure that the oil residue will not remain even after your cleaning.
Do it thoroughly and follow the instructions in this article, and you will be good to go. Here is how to clean a diffuser with alcohol.
How Do You Clean a Diffuser with Alcohol?
Alcohol is a powerful substance to clean thoroughly the impurities that accumulate in the diffuser and the oil residue itself.
It is important to clean your diffuser with something more than water or a wet cloth. These two methods might get some cleaning done, but they will not ensure that the diffuser is perfectly clean and ready to use.
Follow the following 5 easy steps to make sure that your device will get cleaned and will last the longest.
1. Turn it Off
First things first, power down your device before you do anything. You can never clean while it is turn on or before you make sure the electrical parts are out. If you do not follow this, you risk causing permanent damage to your diffuser.
Once you do that, wait five minutes so the diffuser can cool down. Do this to make sure that the water will not cause a thermic shock on the electrical part. This tip alone can make your diffuser last longer.
Then, at last, you remove the power adapter to make sure the water will not damage it. Make sure to do this precisely the way it is being described, and you should not have problems.
2. Get the Substance Ready
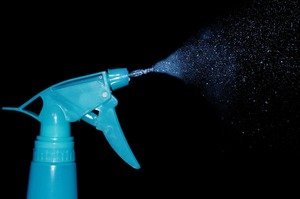
Now, it is time to separate a small portion of alcohol that you are going to use to clean the diffuser. You can do this while the diffuser is cooling down. Get the alcohol in a cup or something similar for you to apply it on the device.
It is important that you use just enough to clean the impurities. Sometimes it is normal for people to think that you are supposed to drown in lots of alcohol in every part of the device, but it is not.
Once the diffuser cooled down, it is time to begin cleaning it.
3. Apply the Alcohol
This is, perhaps, the most important step. Be careful to make sure you are cleaning the parts that do not involve the electrical pieces. Then, apply the alcohol, leaving it there for around 10 minutes to make sure that it will clean the impurities thoroughly.
This is important because too often the visible dirt gets removed but the device still does not work properly. It is important to make sure that the oil residue and dirt that prevents the perfect functioning of the device gets removed.
After you use the alcohol to make sure you remove everything, make sure that it is perfectly cleaned. Then it is time for the next step of rinsing all the parts that came into contact with the alcohol.
4. Rinse
Rinsing is the most fun part. Use the water to remove all the alcohol from the diffuser. This will not only remove the alcohol but also the dirt and oil residue.
A great tip is to use a wet cloth after you rinse the diffuser. The wet cloth will clean the corners of the device and make sure all the impurities are gone. This deep cleaning will get your device so clean that you will not have to clean it again for quite a while.
5. Dry
Pay attention to this final step. So far, you have done everything right. You have turned it off, prepared the substance, applied the alcohol, rinsed, and now it is time to dry it out.
Now, to make everything easier and faster, use a dry cloth to remove most of the water that remained. This will get your device ready to be used much faster.
The final tip though, it is to let the diffuser air it out naturally after you used the dry cloth. This is due to the fact that if you turn the diffuser on before it is completely dried, it may cause damage to the device.
Final Thoughts:
https://www.youtube.com/watch?v=yUs4AapHpTs
Now you have the necessary knowledge to make sure your device is thoroughly cleaned and that alone can save you a lot of money. You do not need to change devices all the time just because the dirt makes it look like it is broken.
Diffusers are great allies to essential oils. All you need is to keep it clean and the diffuser will work properly. If you follow these easy steps, there will be nothing to worry about.
Now, not only apply this useful information but also share this article to help everybody else make sure that their diffusers are properly cleaned.
Also, leave a comment below sharing your experience cleaning yours. Oto s always great to hear from you.